
How To Draw A Dead Rose. Roses are the best known and most recognizable flowers in the world and are often associated with events such as Valentine’s Day and dates in general. They often symbolize love, but the image of a dead rose can also be symbolic, often representing grief or the end of a relationship.
It has a sad beauty and learning to draw a dead rose is a great way to create artwork that explores these themes and feelings. This is the perfect guide for you if you want to know how it’s done, so if this sounds like something you’d like to master, be sure to read it to the end!
Our step-by-step guide on how to draw a dead rose will show you how you can recreate this sad but beautiful picture in just 6 easy steps. You can draw many more characters like bow and arrow drawing, Anubis drawing, cat drawing, cobra drawing, blueberry drawing, coconut drawing and many more kids drawing.
Step 1:
As we started with this guide to drawing a dead rose, we will start with the flower’s petals. To draw this section, we will use many curved and rounded lines to give it a faded look. It will also be tilted so that the head of the rose is tilted and facing the ground.
As our reference image shows, the head of the rose will also be quite rounded and made up of a few crinkled petals. Then use curved lines with pointed edges for the leafy sepals at the base of the flower head.
Finally, we will start by drawing the stem of the dead rose. Use straight but slightly curved lines for the start of the stem; then, you’re ready for the second step.
Step 2:
Moving further down the image, we will then start drawing leaves for your dead rose design in this step. The first leaf will be attached directly to the stem and, like the head of the rose, will bend down to show more than this flower is dying.
The second leaf will be attached to a short stem, and this stem can be drawn with a few simple curved lines attached to the main stem of the flower. This leaf will also be drawn with curved lines, but you’ll want to leave some space at the tip where another leaf will overlap later.
Step 3:
In this third step of our guide to drawing a dead rose, we will add more stem outlines. Before drawing this outline, draw another small twisted stem from the main one to the base of the first leaf you drew.
You can then complete the final outline of the main stem by drawing a few more straight lines down. The base of the stem will be angled slightly to show where it was cut, and there will also be space on the left side where we will add some elements later.
Step 4:
In the last step of this drawing of a dead rose, we’ll fill in that space you left in the flower stem. First, draw another thin leaf stem using more curved lines.
There will then be another leaf near this stem, which will appear relatively thin due to its angle. Again, there will be some space left below this sheet, but we’ll take care of that when we add the final elements in the next step.
Step 5:
You are now ready for the final details and elements before moving on to the final step of this guide to drawing a dead rose. First, you can fill in the last remaining space by adding another sheet, as shown in the reference image. Once it’s drawn, we have a few final details to add!
You can draw veins on each leaf to make it look more realistic. Then add a few more curved lines across the head of the rose to complete this look. Once you’ve drawn these details, you can add a few more! Do you have any extra touches or background details to add?
Step 6:
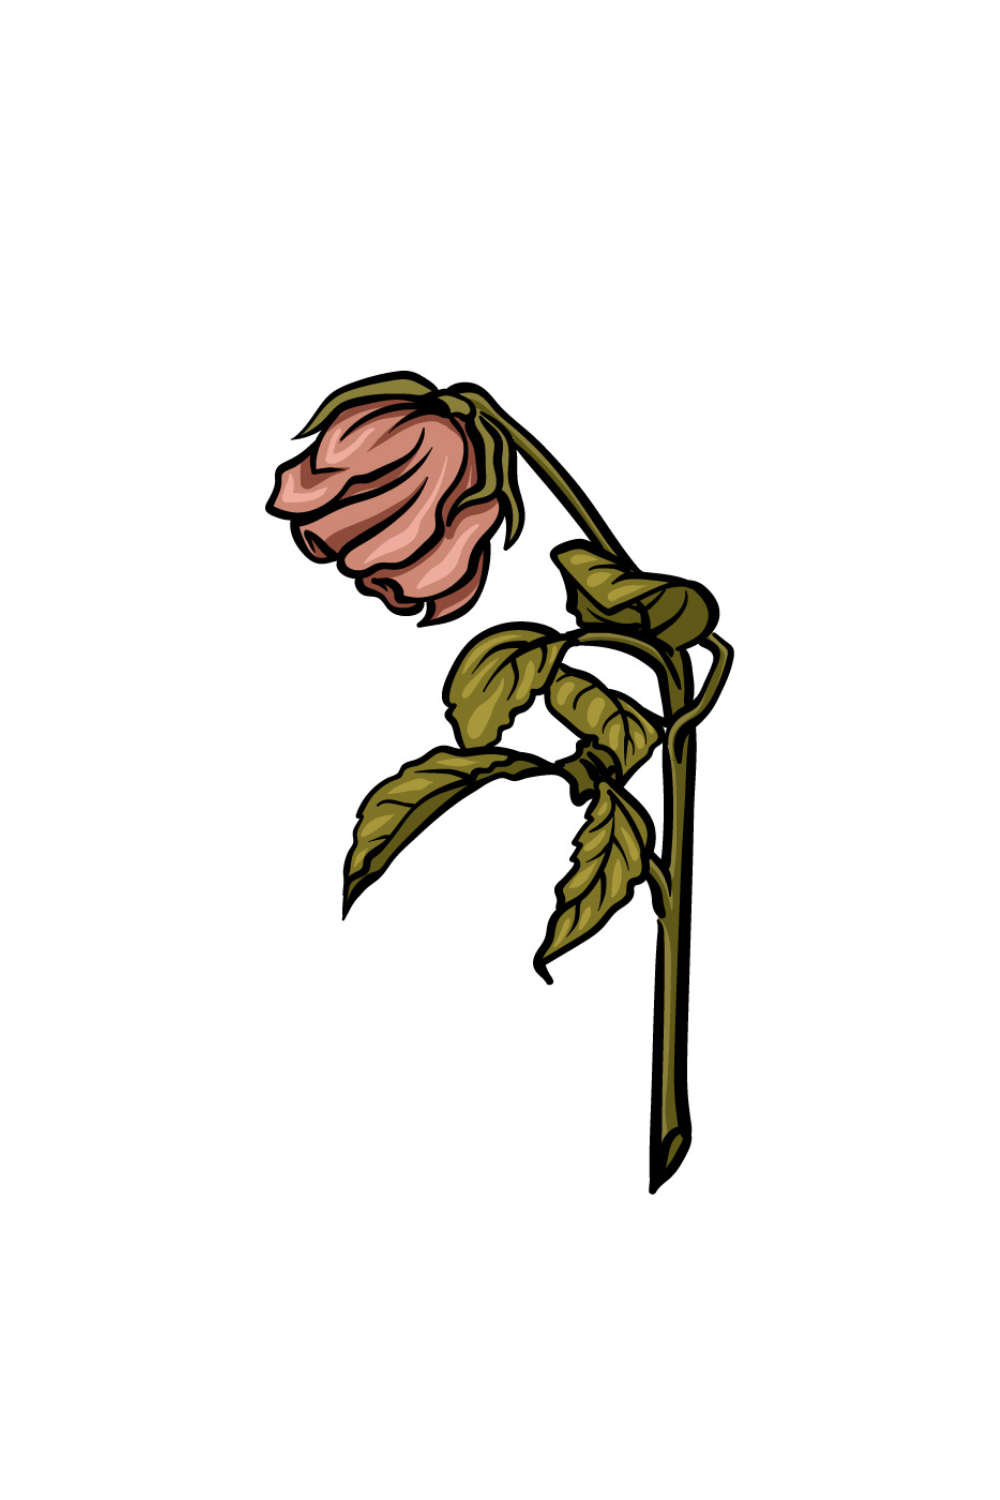
You are ready to finish this dead rose drawing by adding color to it in this final step. As you can see in our reference image, we used pinks and greens for the flower and stems, but we used dark, muted shades of those colors.
This is to emphasize further that this flower is dead and withered, and you can use similar colors for your image if you like that effect. You can also change the colors if you want a different look for your image. Choosing your art media is also a great way to achieve color variations.
Also Read: What are Flame Retardant Fabrics? Where To Buy Them?